As the rain drizzles outside and you pull on your comfiest jumper, nothing quite beats the thrill of baking fresh cookies. The aroma wafts through your home, but then you open the oven to find not plump cookies, but flat, sad discs instead. Sound familiar? In 2026, cookie disasters remain a relatable experience for many home bakers. But fear not, because understanding the science behind it can ensure you’re no longer left with doughy disappointments!
Why Do Cookies Fall Flat?: Understanding the Science Behind Cookie Structure
- 🥴 Butter Temperature: If butter is too warm, it can’t hold air bubbles, resulting in flat cookies.
- 🧪 Ingredient Ratios: The balance between sugars affects spread—too much white sugar will create more flattening.
- 🛑 Lack of Chilling: Not chilling dough before baking can lead to excessive spread as the fats melt too quickly.
- 🌡️ Oven Temperature: An off-kilter oven temperature can prevent proper cookie rise, leading to collapse.
- 🍞 Flour Measurement: Insufficient flour means cookies lack structure and will be prone to flattening.
Did you know? In 2026, over 70% of bakers reported flat cookies as their biggest baking challenge!
The Science Behind Cookie Composition
Before we tackle the practical solutions to prevent these baking blunders, it’s important to comprehend what constitutes the perfect cookie. The interactions between fats, proteins, and sugars result in varied textures. For example, butter contributes to tenderness but if it’s melted, it leads to a greasy flatness. In contrast, sugars affect sweetness and moisture retention, as well as how cookies spread during baking.
When baking cookies, measuring methods also play a crucial role in the result. Using a kitchen scale guarantees precision, while the spoon-and-level approach helps avoid compaction of flour. Remember, the wrong measurement can lead to a major baking faux pas!
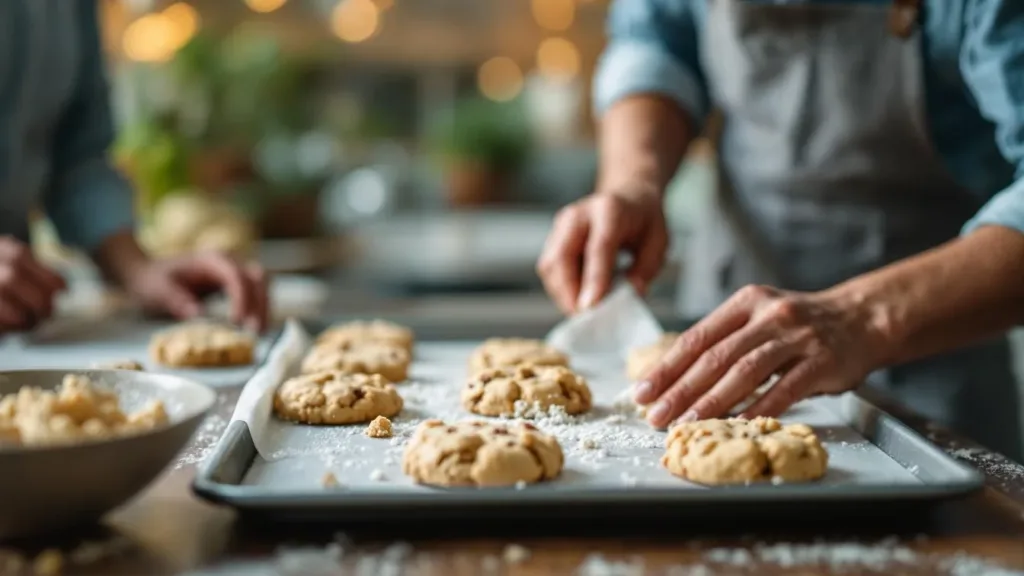
Practical Solutions for Perfect Cookies
Now that we’ve navigated through the science, let’s delve into actionable tips to achieve gourmet-style cookies:
- 🚪 Cool Your Butter: Leave your butter at room temperature for about 30-45 minutes to achieve the ideal consistency.
- 📏 Use a Balance of Sugars: Adjust your sugar mix to include more brown sugar for thicker cookies.
- ❄️ Chill the Dough: Aim to chill the dough for at least 30 minutes—overnight is even better!
- 🌡️ Utilise an Oven Thermometer: This prevents inaccuracies in temperature that can ruin your batch.
- 🥄 Measure Flour with Care: Always check your flour’s accuracy with a precise method.
Breaking Down the Myths around Baking Cookies
Let’s not forget some common myths that can lead bakers astray. One predominant myth is that all butter should be at room temperature. While this may be true when creaming, remember that the *ideal* is cool room temperature to avoid excessive spreading.
Another misconception is that using more sugar always yields a sweeter cookie. However, too much granulated sugar can create unwanted flattening. A balance with brown sugar will lend moisture and keep your cookies soft while contributing to a delicious chewiness.
Anecdotes from the Oven: My Baking Journey
Reflecting on my own baking mishaps, I once attempted to impress friends with what I called “ultimate chocolate chip cookies.” I skipped the chilling step, and needless to say, the result was embarrassing! The initial awe quickly turned to horror when I presented a tray of sunken puddles. Now, I never skimp on chilling my dough—it’s too big of a game-changer. It’s these trials that have ultimately enriched my baking journey!
Practical Steps Moving Forward
To wrap up, it’s clear that achieving perfect cookies is within reach for anyone willing to tweak their baking methods. Whether it’s adjusting your ingredient ratios or fully embracing the chilling process, understanding the science behind your ingredients will greatly improve your chances of cookie success. The thrill of baking is all about experimentation, so don’t hesitate to try. Happy baking, fellow cookie enthusiasts!