
Imagine you’re in your kitchen, the scent of fresh pizza wafting through the air, and yet your dough just doesn’t have that elusive, crispy restaurant crust. What if I told you the secret lies in something as simple as hydration? Yes, hydration—not just in your morning cuppa! With the right technique, you can elevate your homemade pizza from average to extraordinary, perfectly mimicking that delightful crust you find at your favourite pizzeria.
Secrets to a Perfect Pizza Dough Crust 🍕
- Hydration Levels: Finding the sweet spot for moisture! 💧
- Proper Kneading: It’s all about the technique! 💪
- Fermentation Time: Patience is key! ⏳
- Temperature Control: Keep it just right! 🌡️
Fun Fact: Did you know that in 2026, the rise of ‘Ultra Hydration’ techniques in baking peaked, pushing home bakers to experiment with hydration levels like never before?
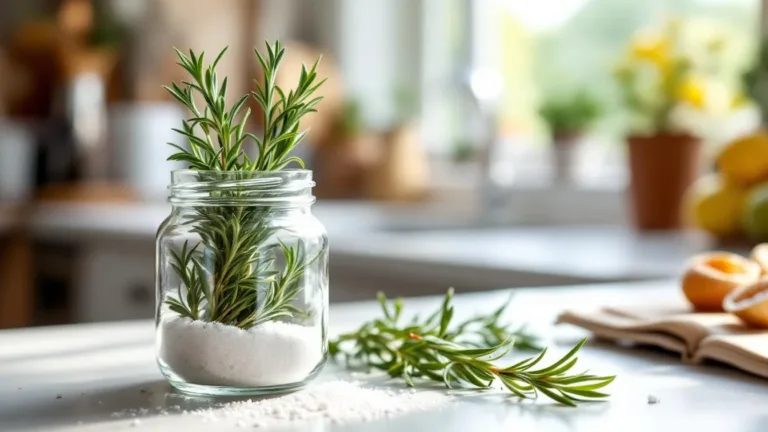
Understanding Hydration in Dough 💦
Hydration in pizza dough refers to the ratio of water to flour. This simple measurement significantly affects the texture and overall quality of your pizza base. A higher hydration level means a softer dough, which can develop those lovely airy bubbles in the crust as it cooks. While classic pizza dough requires about 60-65% hydration, daring bakers have started experimenting with up to 80% for an ultra-light, tender crust. However, this does require a bit more finesse in handling the wetter dough.
Moreover, the type of flour you use plays a vital role in how your dough reacts to hydration. Strong bread flour can absorb more water than all-purpose flour, adding to the dough’s structure. Getting your flour-water ratio right is the first step to achieving that professional-quality finish at home. You might need to adjust depending on your local flour type, as different brands have varying protein content, thus affecting hydration and dough consistency.
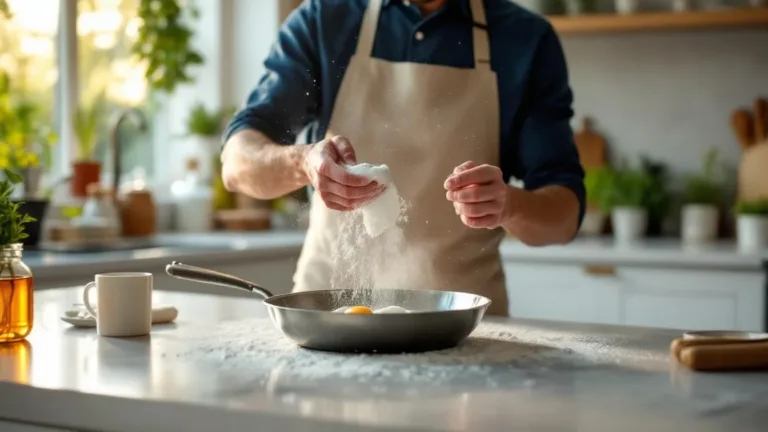
Kneading Techniques for Better Gluten Development 🥖
The art of kneading cannot be understated. This is where the magic truly happens, as you’ll develop the gluten which provides the structural integrity of your crust. It’s a rhythmic dance of stretching and folding, allowing the dough to build strength and elasticity. For dough with higher hydration, you might consider using a technique known as the stretch and fold method. This involves pulling the edges of the dough and folding them over; repeat this every 30 minutes for two hours, and you’ll see great results without overworking the dough. This method also helps incorporate more air, which aids in fermentation and ultimately leads to a light, bubbly crust.
While many folks default to the classic “punch-and-smash” kneading method, this is less effective with wetter dough. Instead, focus on being gentle yet deliberate. This will also prevent your hands from getting too sticky, which is a common issue when you’re trying to tenderise. Remember, it’s about the feel and understanding how the dough responds to your handling.
The Importance of Fermentation 🕑
Fermentation time is your window to developing flavour in the dough. Leaving your dough to rise for an extended period not only enhances taste but also improves its texture. For beginners, a first rise of about 1-2 hours at room temperature will do the trick. However, more experienced bakers often incorporate a cold fermentation method where the dough rests in the fridge for 24 to 72 hours. This process allows the flavours to develop more fully and makes shaping your dough easier.
During fermentation, the yeast works its magic; it creates carbon dioxide which causes the dough to puff up. A prolonged fermentation process results in a more complex flavour profile, akin to those handcrafted masterpieces you admire at your local pizzeria. Just remember, patience is a virtue when it comes to making outstanding pizza.
Keeping the Temperature Just Right 🌞❄️
The temperature of your environment and ingredients plays a critical role in the fermentation process. Ideal dough temperature for pizza is around 24-26°C (75-78°F). Warmer temperatures speed up fermentation, while cooler temps slow it down. You might find that your kitchen’s ambient temperature in Spring gives you a natural advantage, as it’s often just right for yeast activation.
Using warm water when mixing your dough can also enhance the fermentation rate. Conversely, if it’s a chilly day, you might want to consider letting the dough bulk rise in a warmer spot—perhaps near your oven while it preheats. Experimentation is part of the fun in understanding how temperature affects your final product, so don’t hesitate to mix things up a little!
Practical Tips for That Perfect Crust 🧑🍳
Ready to roll? Here are some practical tips to help you on your pizza-making journey. First, invest in a good quality pizza stone or steel. These will help retain heat and create that crispy bottom crust—reminiscent of those lovely restaurant pizzas. Preheat your oven to its highest setting, usually around 250°C (482°F), at least 30 minutes before you start baking.
You can usually find pizza stones at larger retailers like Lakeland or even online, often sold alongside associated baking tools. When you’re ready to shape your dough, sprinkle your work surface with a bit of flour or semolina to prevent sticking, and always aim for a light touch to keep those air pockets intact. And don’t forget to experiment with your toppings—less is often more, especially with delicate crusts!
A Personal Touch to Your Pizza Making 🍽️
Now that you’re equipped with the secrets to achieving that impeccable pizza crust, don your apron and get baking! The joy of homemade pizza lies in the experimenting and discovering what works best for you. Consider inviting a few friends over for a pizza night; it’s a brilliant way to sample different topping combinations and share techniques. Start with your basic recipe and adapt based on these tips, and you’ll soon find that the art of pizza-making becomes a delightful routine. Hinweis: This article is for general information purposes only and does not replace professional advice.What Next? Get Cooking! 🔥